What’s With Worms?
Happy (almost) Earth Day! A time to truly celebrate this beautiful rock we live on, and maybe contemplate how we can take better care of it. Climate change has been talked about for decades, and while there’s been an acceptance of it’s truth, there are still many of us that don’t apply that knowledge to our daily actions. If everyone made small adjustments to their lives, whether it be an individual or a big corporation, things might just turn around. There’s a lot we can do, and one of those things is turn to our long, wiggly friend - the worm.
Compost is heavily talked about in the going green movement, but less and less people have the yard, the space, or the time to keep a nice hot pile of compost working it’s magic. That’s where working alongside worms comes in handy, as they don’t need THAT much space to do their thing. But how does it work?

Our bin lives in the kitchen!
Worms, Worms, the magical invertebrate – the more scraps they get, the more they shi…er create nutrient dense soil additive that will give your plants and garden a boost! Alright, so much for a vermicompost jingle.
I’m sure many of you have already heard all the rage of composting, but what happens when you add worms?! Vermicomposting is a slightly accelerated way to compost using our wiggly friends to aide in the breakdown of food waste and other natural materials. It can be done on a vast scale, or in tiny containers in your home. I know what you’re thinking, worms in the house?! Yes! They are such easy critters to have sitting around; they prefer the dark, eat all the bits of food you don’t want, and don’t smell or cost much to set up.
I live in an apartment and cook pretty frequently, so I always had scraps that I was either saving for vegetable broth, smoothies, or it was just tossed. I looked into composting to take care of the things I was tossing, but as the scraps kept piling up, it felt like nothing was breaking down. That’s when I did some research and learned about vermicomposting. I was quickly convinced and started on my worm journey.
What I used:
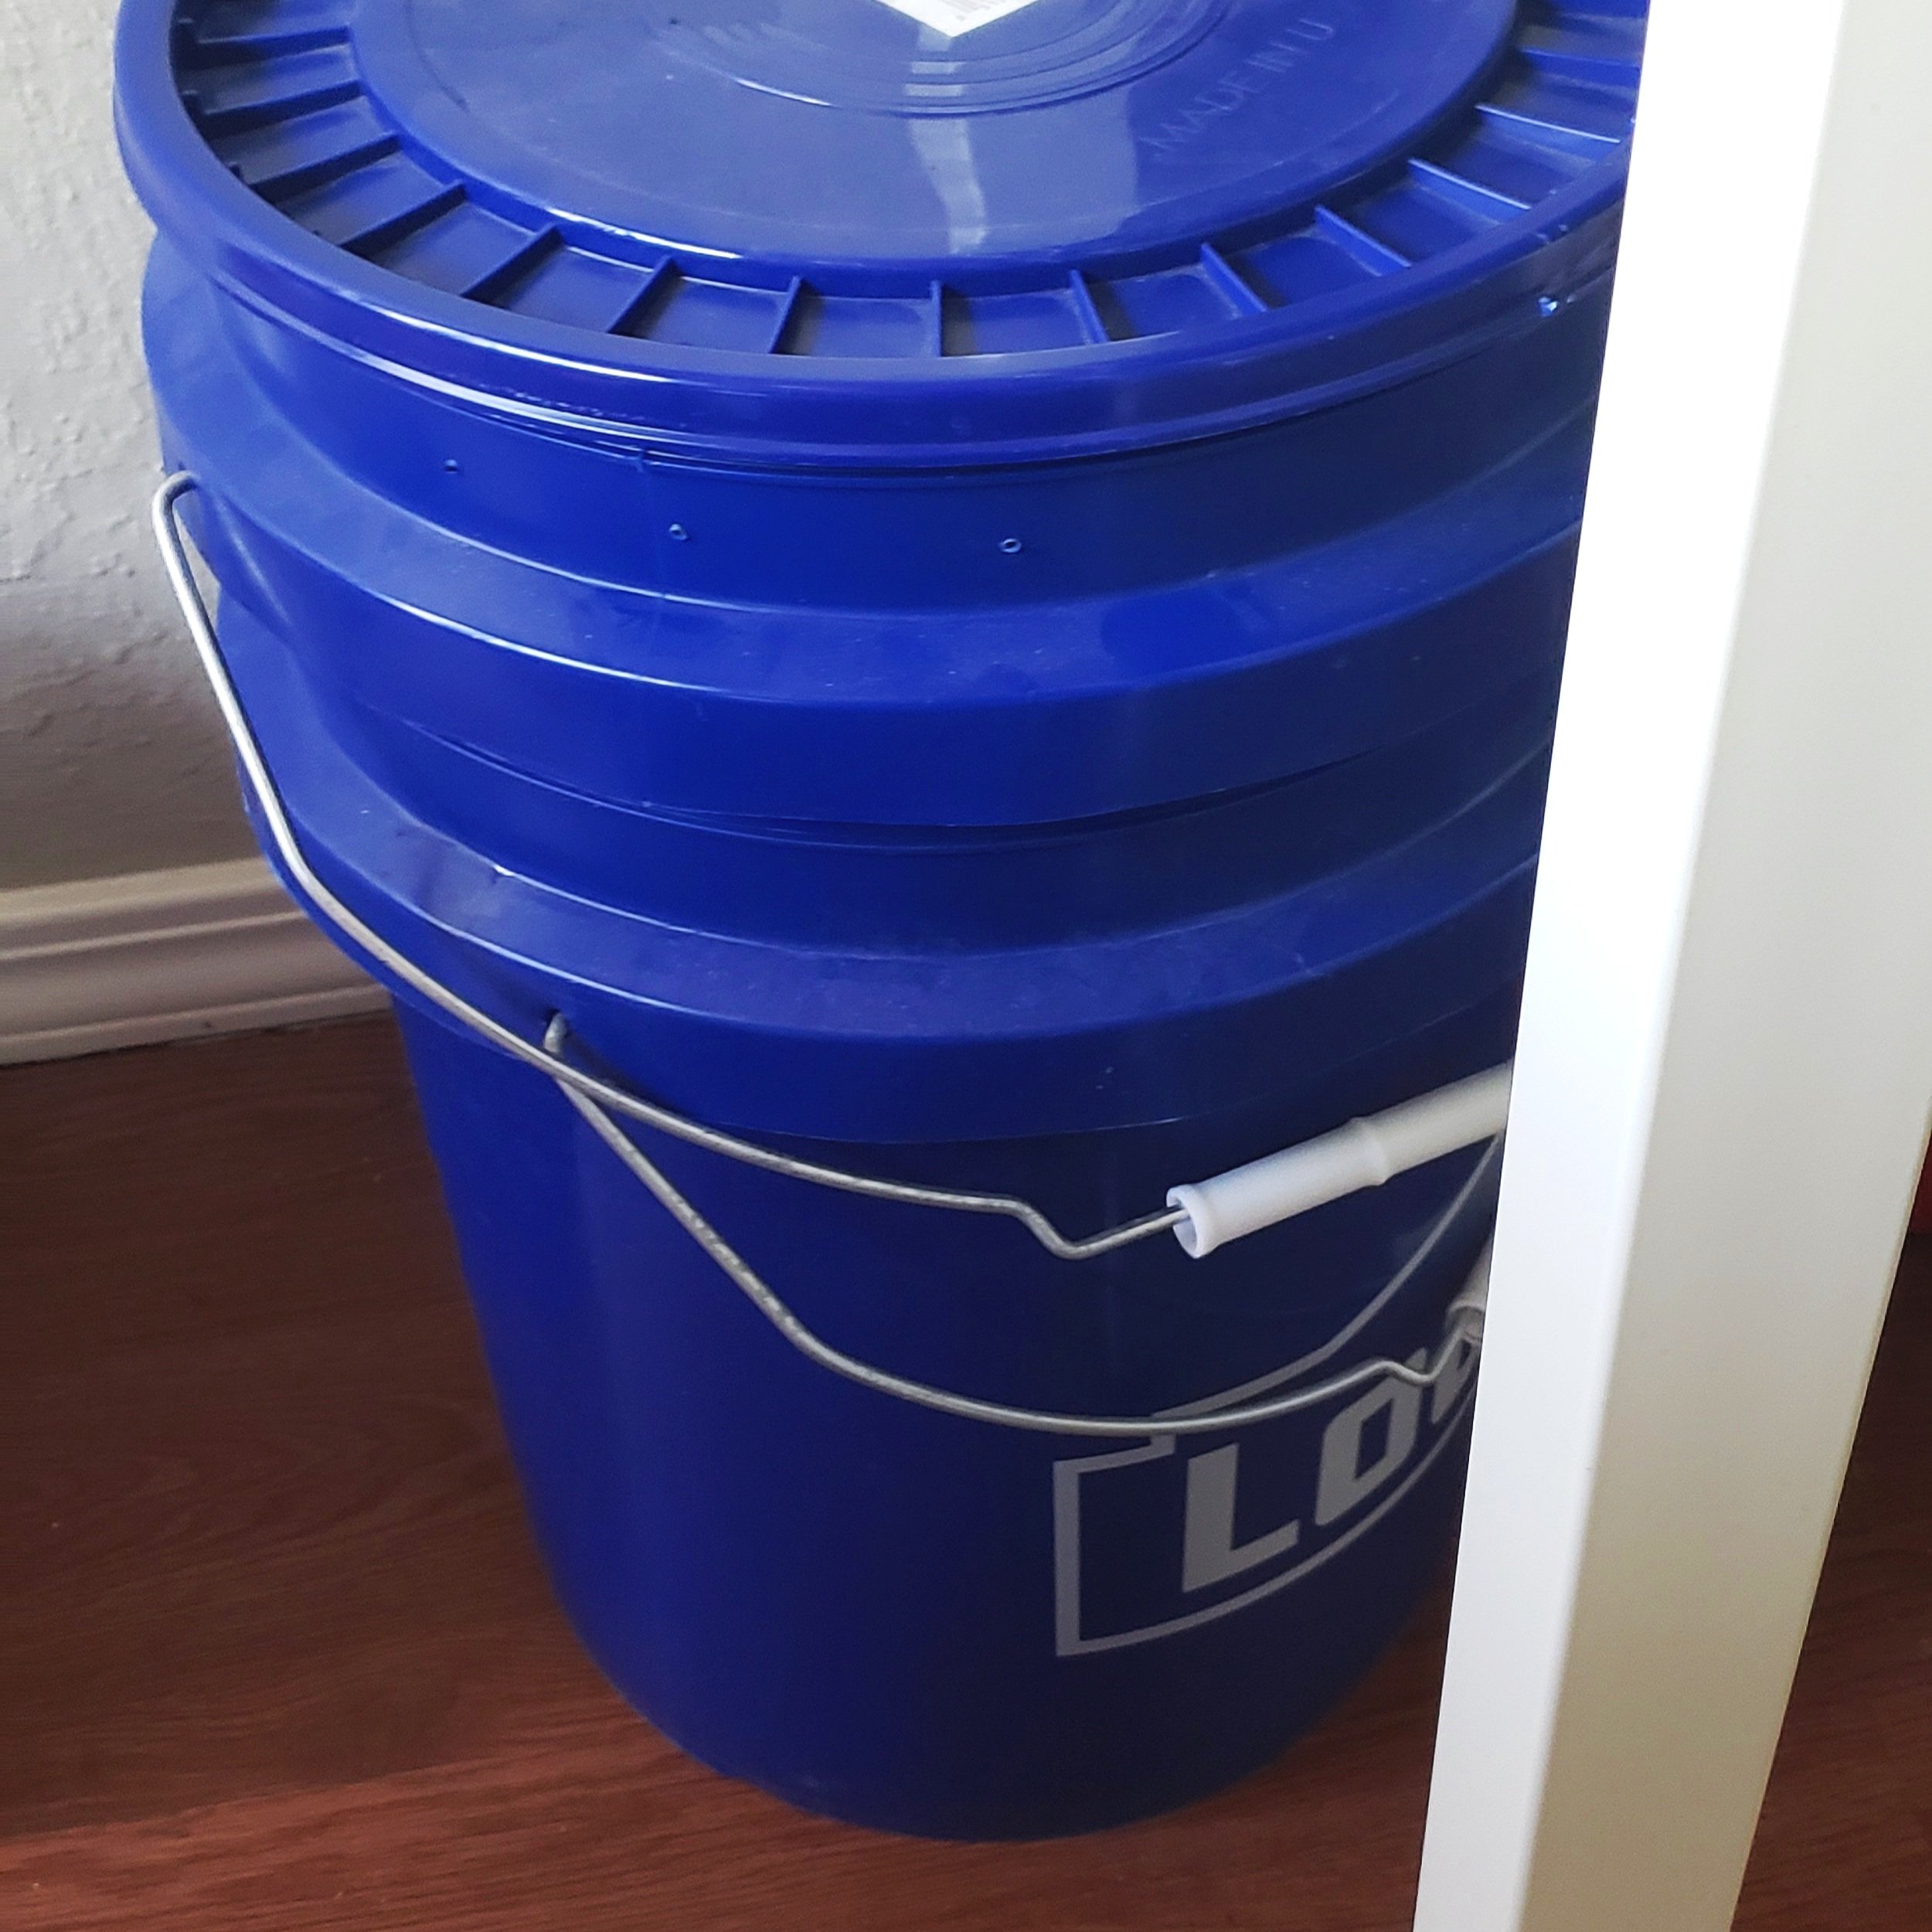
- Two 5-gallon buckets I was collecting rainwater in – I live in CA where rain is few and far between these days, so using the buckets for a worm home seemed like a better use
- Bucket lid
- Nail and hammer – I didn’t own a drill, but I should probably get one at this point in life
- Coco Coir
- Cardboard
- Food scraps
- 250 Red Wigglers
I spent a total of about $40 on this project, and that was mainly just for the worms. I had everything else on hand and it made for a simple set up.
Step-by-Step
Step one: Drill holes in one of the buckets along the top edge, as well as in the bottom of the bucket. You don’t want the holes in the bottom to be too big, otherwise the worms might get through and possibly drown in the “compost tea” (we’ll get to that later).
Step two: place the bucket with holes inside the second bucket, should fit with about an inch of space at the bottom.
Step three: Place some coco coir or a bit of soil, cardboard, and food scraps in the bucket, maybe make it about 2-3 inches thick starting out.
Step four: Drop in your cute little worms, they’ll likely want to immediately burrow down and out of the light.
Step five: Close your lid securely, check back in about a week later to add more food scraps and see how they’re doing.


Tips & Tricks
- Make sure to add a balance of brown scraps as well, this includes cardboard, newspaper, woody plant material, fallen leaves in Autumn, wood chips or bark, untreated shavings
- Things you CAN feed your worms other than plant scraps – Egg shells, dryer lint, human/pet hair, coffee grounds and filter, tea leaf and bags, wood ash, non-glossy papers, any natural fibers (like old 100% cotton shirts, wool, etc)
- Things to AVOID feeding your worms – too many citrus peels (a little is okay), meat, grease, dairy, plastic (think of those stickers on your produce), spices, bread or yeast, treated wood products, anything with possible pesticide on it.
- Don’t overfeed your worms! They will multiply as food and space allow, but too much food waste sitting around might mean extra mold growth.
- But not all mold growth is a terrible thing, it helps break down the waste and worms will actually eat this as well. It’s more of a worry about us humans inhaling the mold spores, so mask up and mix in the mold so it’s not longer visible in the bin.
- The bucket on the bottom is meant to collect the extra moisture that may happen as water-heavy food matter is added. This collection of water can be used as a “compost tea” for your plants and garden. BE WARNED THOUGH, it can be kind of stinky!
- Don’t be afraid to give the bin a little stir once in a while to help mix things in for the worms, especially if you want to collect some compost to fertilize your plants/garden!
- Too wet/moist in there? Add some more brown material like cardboard and paper
- Too dry in there? Add some more juicy food scraps or spray a little water to moisten it up.
All in all, it’s is a fairly easy adjustment to make in life. I’ve accidentally forgotten about my bucket for 2 weeks, or went on vacation, and they’re just fine. As long as they have enough material to munch through that won’t overwhelm the ecosystem, they are probably the easiest pets to have in a household! And of course, one of the really cool things about it is you are sending less food waste to the dump where it will produce methane as it decomposes among other forms of trash.
Speaking of my vermicompost and Spring, I think it’s time I take some out and spread the love to my plants to get them all ready and dressed for the growing season ahead.
Happy Growing!